This old beaten run down dresser has been in our attic since we moved in three years ago.
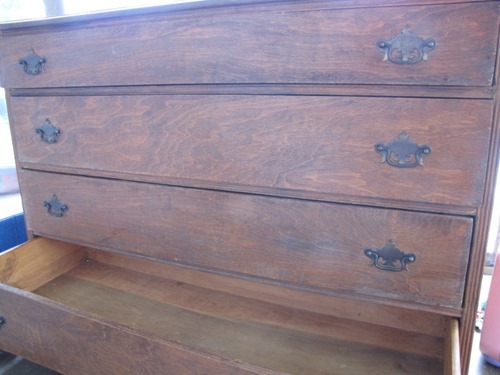
Finally this past September it was time to bring her down and breath new life into her. Our TV nook was lacking any sort of style as you can see here:
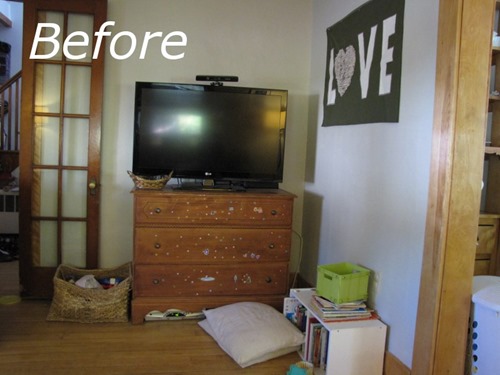
I had an idea how to fix this corner up and thought the old dresser could help me out.
The living room is full of mixed tones including a white parsons desk and white picture frames, natural trim on the door casings and a dark finished shelf. I thought if I took the dresser and painted it a two toned white and natural combo it may help to pull the other pieces in the room together. Plus I’ve seen it done on pinterest and love the turn out.
The first step was to pull the dresser down from the attic. We put it on the porch and there it sat for a while until I was able to get to it. When I finally got around to it the first thing I did was to clean out the drawers with water and vinegar.

This helped to clean out all the dust and dirt and get rid of the musty smell that was lingering. Then the drawers came out for Mike to sand and the rest was in the kitchen for me to paint.
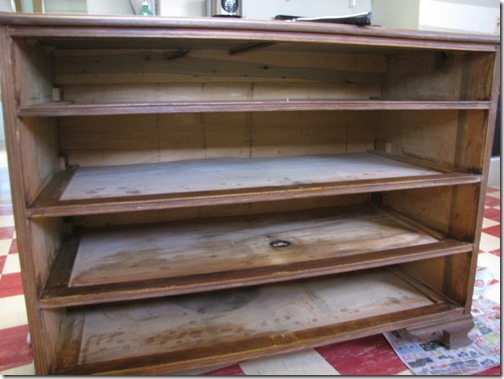
I wiped it all down inside and out first so that I’d be working with a clean surface and then I primed it with one coat of primer.
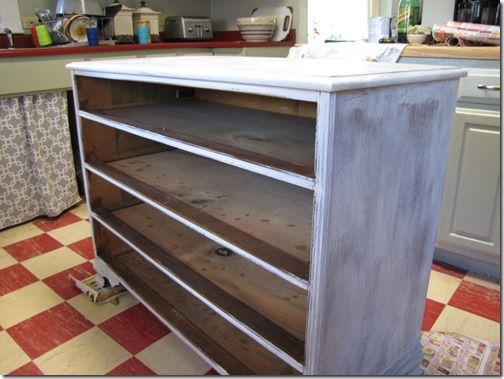
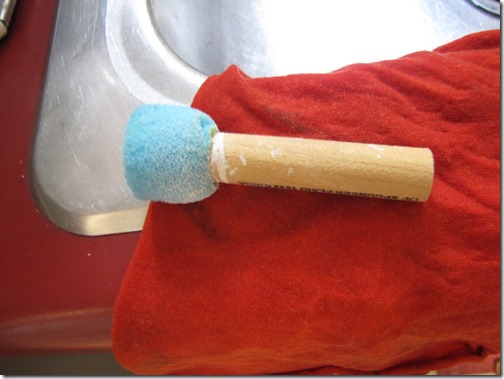
It didn’t take long to dry before I could add the first coat of semi gloss white. The trick is, in my opinion to apply thin even coats and let them dry completely before applying another coat. On some of the detailed work and around the rounded edges I used a sponge to help me apply an even coat.
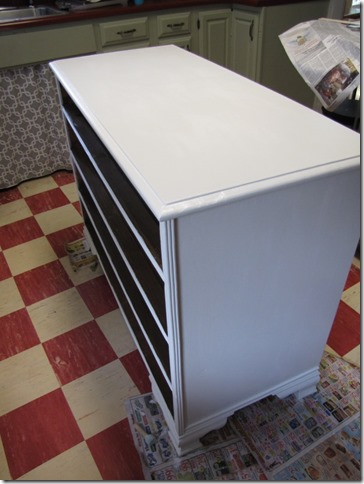
It took pretty much all day and about 4 coats of paint to get the finish I was after. Here’s what I had at the end of the day:
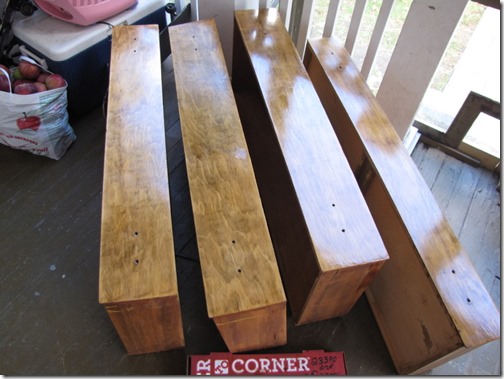
While the paint was drying I stepped out onto the porch and applied a coat of polyurethane to the drawers after Mike was done sanding them. This you definitely need to let dry in between coats to get a nice smooth finish. After the first coat was dried, I lightly sanded it with a fine grid sand paper and then gave it a second coat. I probably should have done three coats but I was anxious to get it done in one day.
As for the hardware on the drawers, I just brought them outside onto a piece of cardboard and spray painted them gold. The next morning I brought in all the pieces and put the dresser back together. I have to say, I was very pleased with the turn out. Not only is our TV nook looking a lot better, but it did just as I had hoped and pulled the rest of the room together. I really like the flow that we’ve got going on now. It makes me so happy to see a room finally coming together.
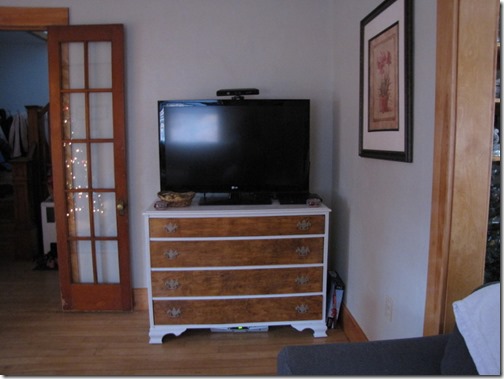
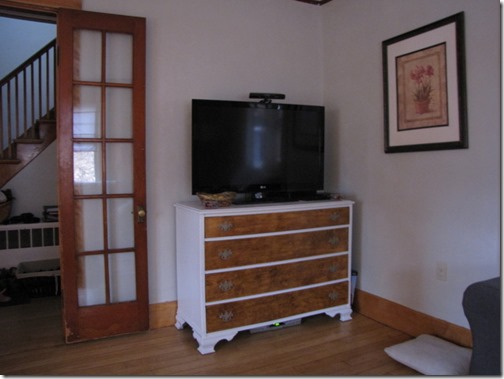
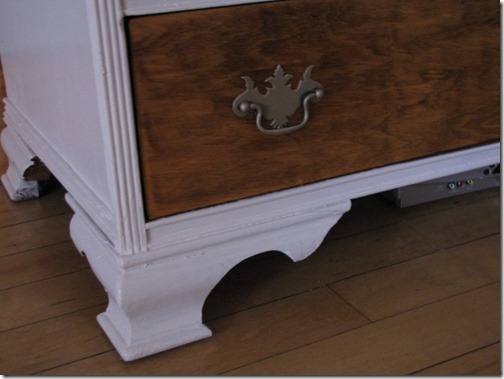
So here you have it again, the before and after:
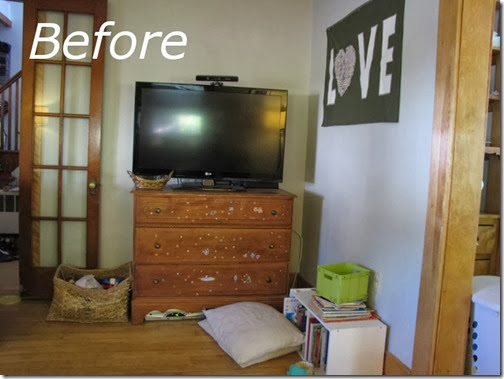
and after;
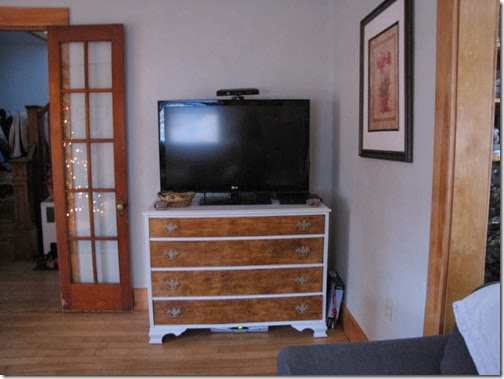
Sooooo much better!! Were so happy with this dresser makeover. Not only did it help to pull our room together but we did it with out spending a dime and using supplies we already on hand. Pretty much a win, win!!
