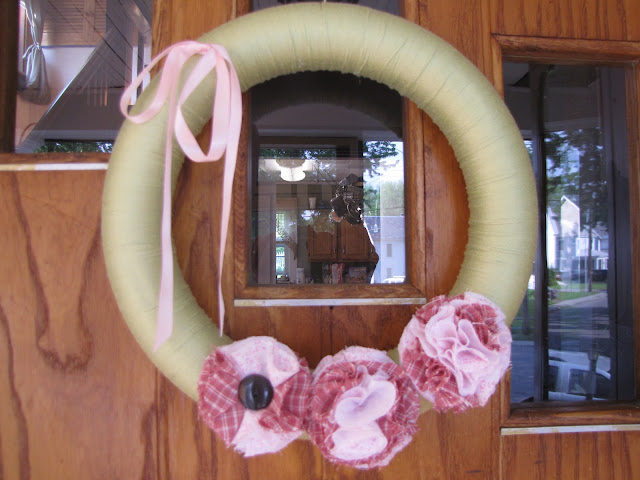
Hey Everyone!!! Hope everyone is doing fantastic and enjoying the spring! I've been catching up with some well needed yard work and gardening during this past weekend.
A little while ago I finished our spring wreath that I revamped from last years summer wreath. On it, I added a bunch of these fabric flower rosettes. I thought I would do a quick tutorial for anyone who hasn't done them yet. They are super easy to make and I love that you can tweak them and make each one a little different.
Okay, here we go.
First you cut your fabric into a strip. I make mine as long as the width of a bolt of fabric and about two inches wide.
Next, I put a dot of hot glue in the top corner
and fold the fabric in half.
Okay, and another dot of hot glue and fold in half again.
Fold the top down like a triangle and glue. Then keep folding for few and gluing as you go. You should see the center form.
Now, twist the fabric as tight or as loose as you want and keep going around and gluing every so often.
You should see your flower start to form.
When you are all done hot glue the tail to the back. You may also cut out a circle of felt slightly smaller than the flower and hot glue it to the back as well.
I love making these because they are SO easy. Hope this tutorial gave you a good idea of how to make them. I have a tutorial here for another kind of fabric flower that is also super easy.
Thanks for staying with me and happy spring!!
xoxo


